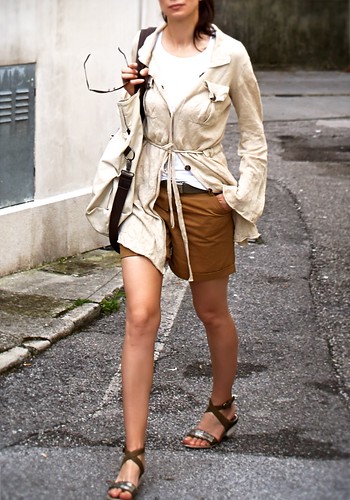
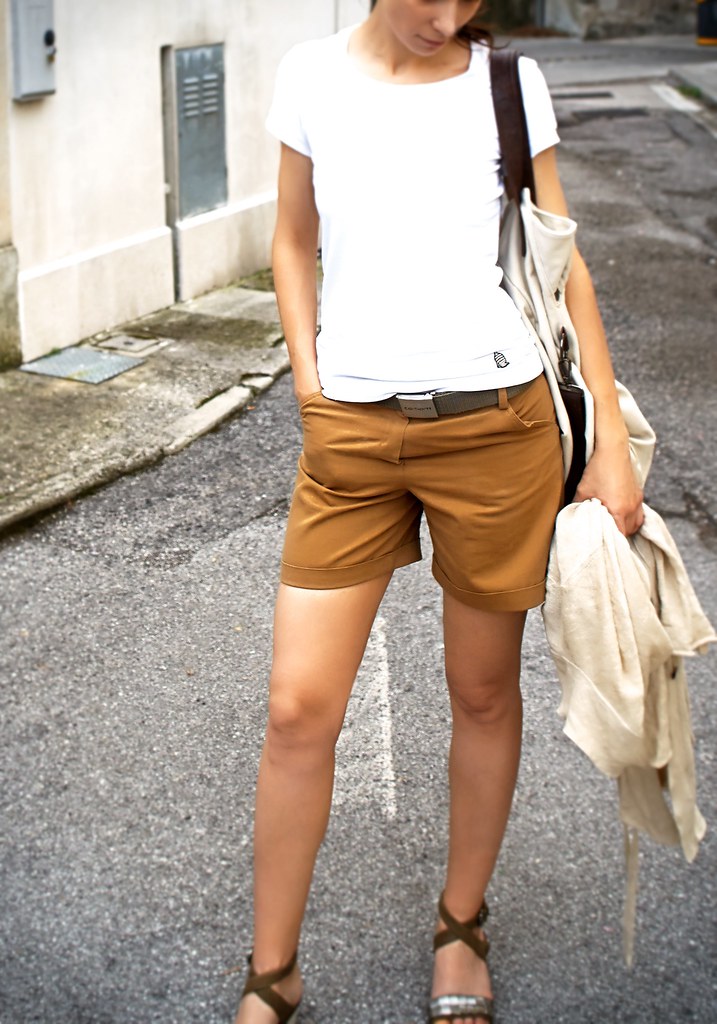
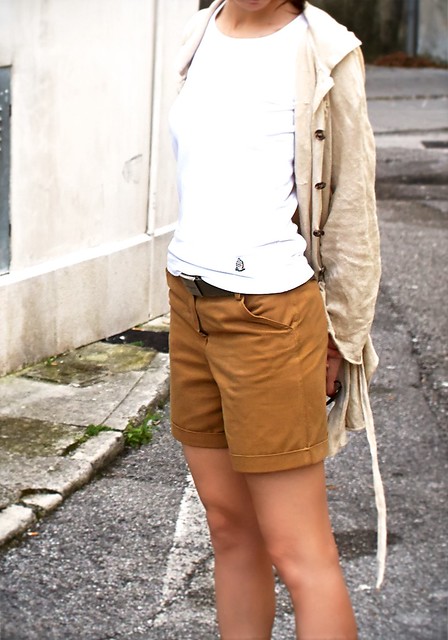
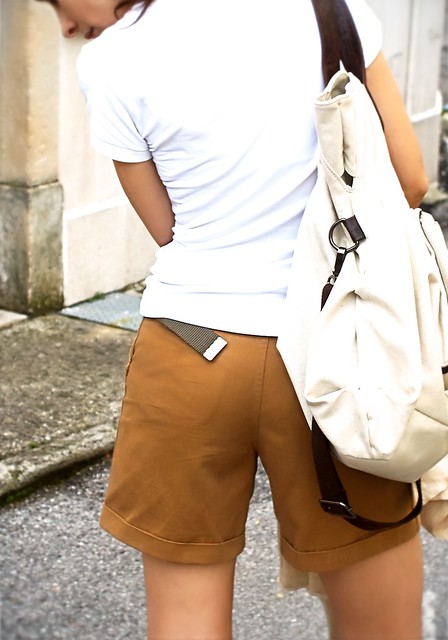
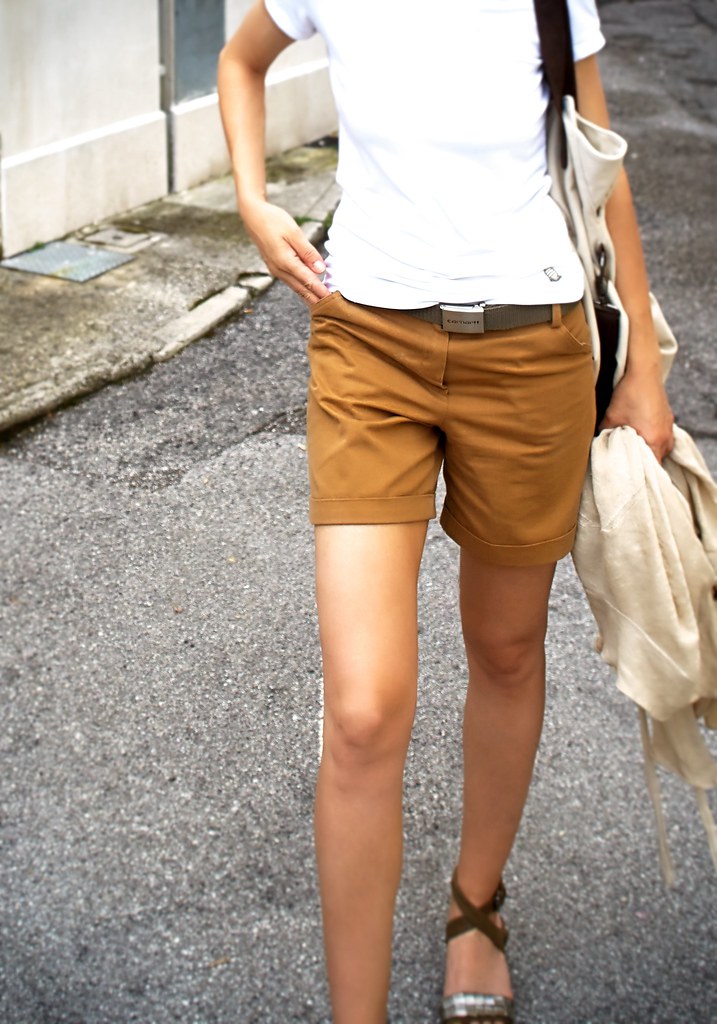
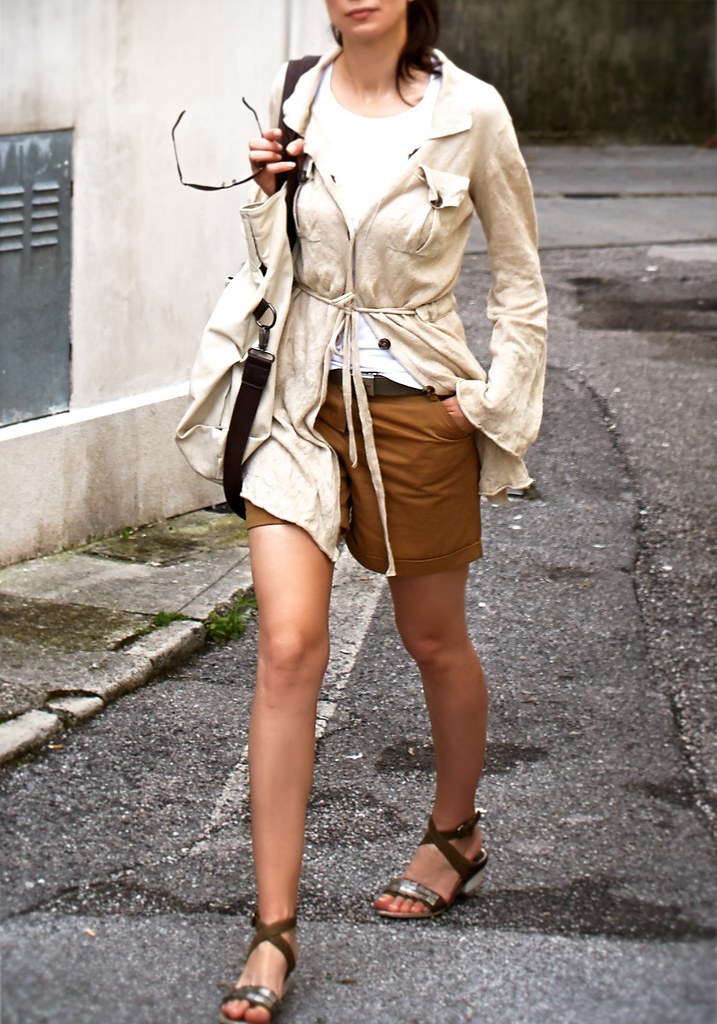
Carme with a touch of…
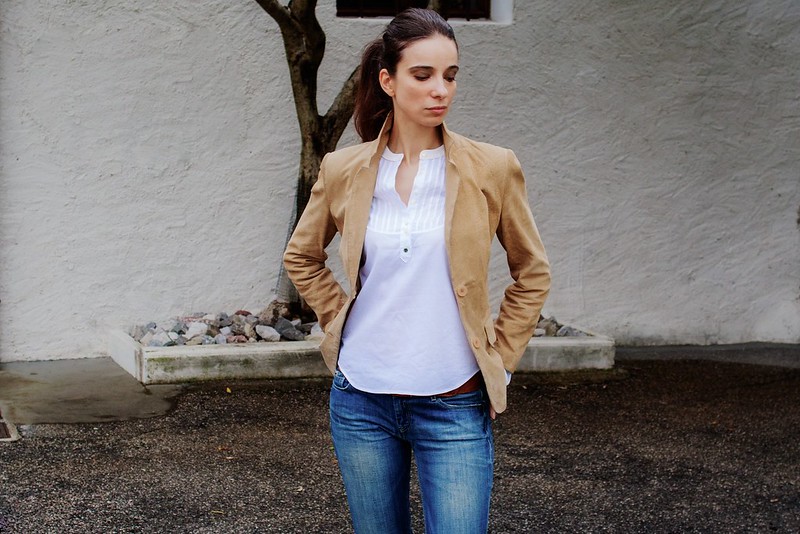
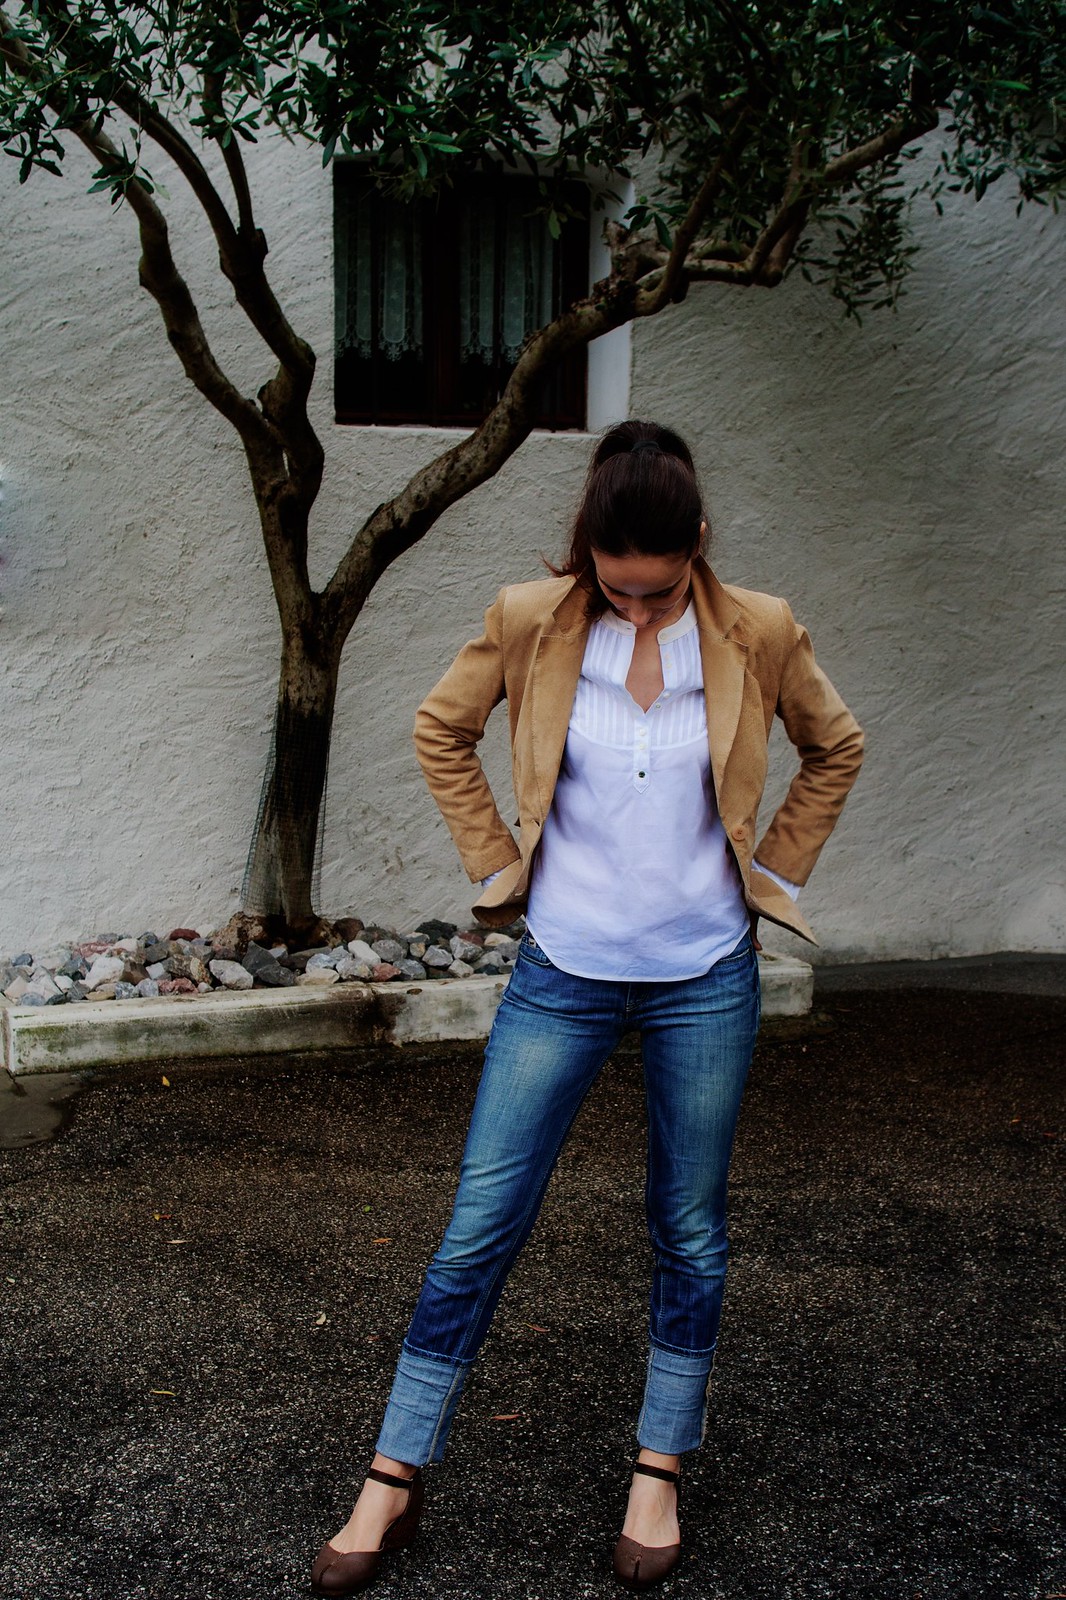
… Victorian Prairie Chic ... of course … just a hint though, a smidge …it still has the beating heart of a Carme blouse. Initially I wanted to modify it just a little and then, of course, as per my usual, I got carried away. We already know Pauline Alice's Carme is a great pattern. Amazing instances of it keep popping up all over the home sewing community. I made a preparatory muslin sometime ago so this post is going to be all about mods and pictures.
Pattern: Carme Blouse by Pauline Alice Patterns
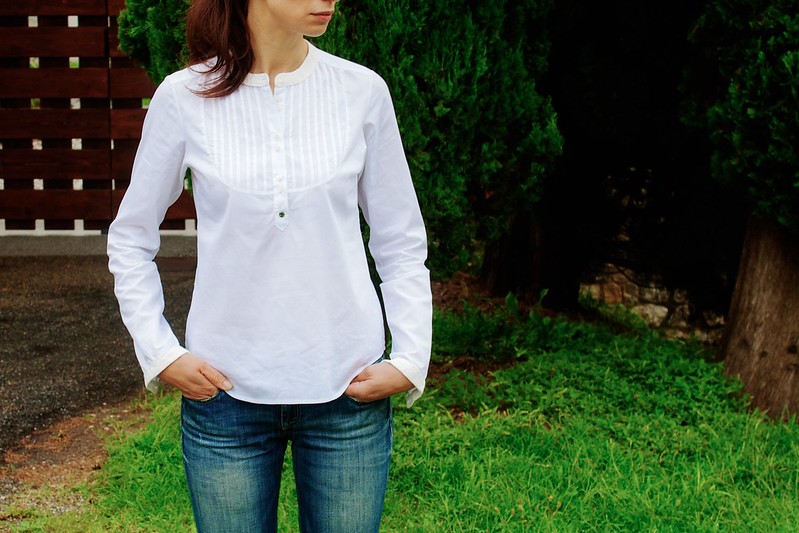
Main Fabric: White cotton batiste. From the pictures, with the light reflecting and all, you can't tell but it's quite light and shear - not organza shear but I still had to wear a skin coloured bra underneath. This has been the lightest fabric I've ever worked with, so I had to figure how to adjust thread tension and foot pressure to avoid puckering (especially with the thick silk thread I used on the bib). Better experiment first on cotton battiste than some silk chiffon, I guess.
Contrast Fabric: Bleached cotton/linen canvas. I wanted something heavier and with a coarser appearance for the neckband and the cuffs. Of course I had the idea around midnight… of course I had no such fabric so I the fabric I used was actually untreated paining canvas I had in my studio. I think it works, visually speaking, it adds a sort of rusticity to the whole thing and actually is really soft on the skin. My original idea was to try and distress it but it was so much hassle attaching the neckband that after having done it, I kinda lost my nerve.
Haberdashery: Coats Epic 140 thread, Coats Seta Reale (silk) thread for the bib, 11 small (8.5 mm) mother of pearl buttons and half of a snap fastener that I dyed using green enamel.
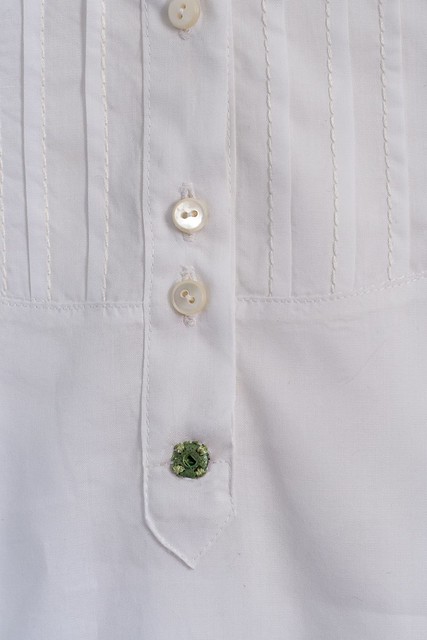
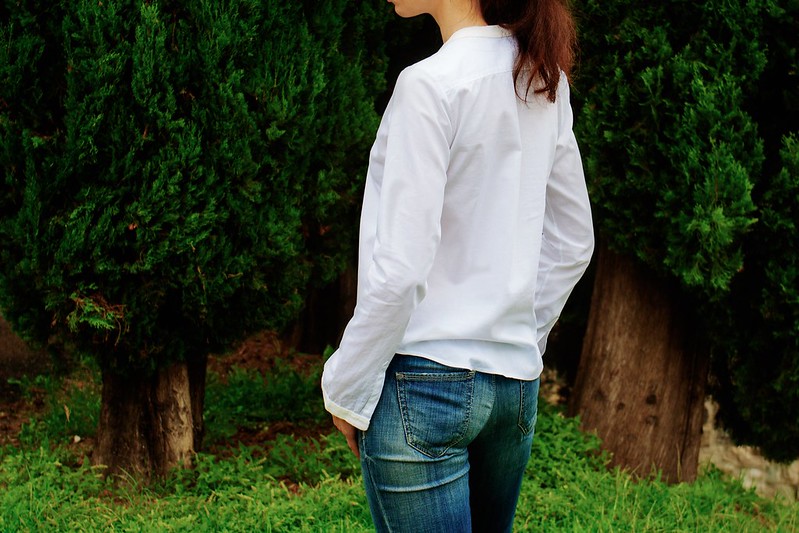
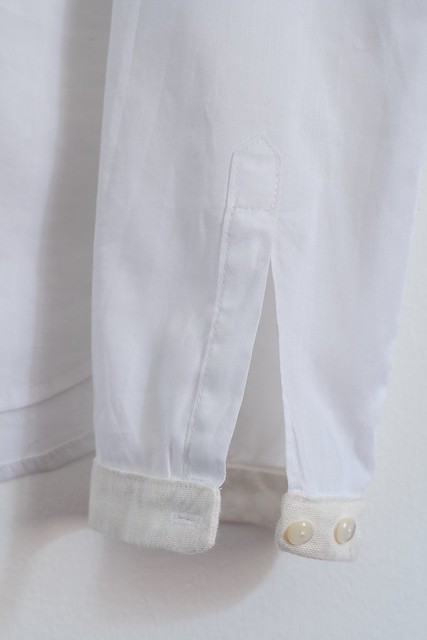 Mods: Modified the pleating of the bib - I wanted to give it some movement so I made 10mm pleats spaced 10 and 15mm and I used the silk thread to sew the pleats. Made the two parts of the front tower placket the same width - I was afraid the underlap would not otherwise support the weight of the buttons. Added a back yoke to give it more of a shirt appearance. Made a jewell neckline with a neckband instead of the mandarin collar. Made sleeve tower plackets - I don’t know what to call them - half tower, single tower… Basically only the overlap has a tower, the other edge is rolled.
Fitting: I did a forward shoulder adjustment and lowered the bust dart a bit (some wishful thinking was involved - I should have lowered it more).
That is pretty much all I did.
The fact is, I like the Carme so much I feel the need “to do things to it”. As I am writing this the idea of getting some silk chiffon in there, keeps buzzing through my brain ;).
Thank you for visiting. I would love to hear your opinion.


Carme con un tocco di…
… stile prateria vittoriana ... ovviamente … giusto un tocco …ha ancora il cuore pulsante di una blusa Carme. All’inizio volevo modificarla giusto un po’ ma ovviamente con quella che sta cominciando ad essere una abitudine la situazione mi è sfuggita di mano. Si sa che il cartamodello della blusa Carme di Pauline Alice è disegnato a regola d’arte, non molto fa ne ho cucito una tela di prova, perciò in questo post parlerò solo delle modifiche.
C.M.: Blusa Carme di Pauline Alice Patterns
Tessuto: Batista bianca di cottone. Dalle immagini, con il bianco che riflette la luce, non è veramente evidente la sottigliezza e la trasparenza del tessuto - non è minimamente trasparente come l’organza ma ho dovuto comunque mettere un reggi color pelle. Questo è il tessuto più leggero che io abbia mai provato a cucire (fino adesso) perciò ho dovuto imparare come regolare la tensione del filo e la pressione del piedino per evitare di increspare il tessuto (specialmente con il filo di seta più grosso che ho usato per la pettorina). In fin dei conti meglio esercitasi su batista di cottone che su chiffon di seta.
Tessuto a contrasto: Tela di lino/cottone sbiancata. Volevo qualcosa di più pesante e grezzo (non al tatto ma alla vista - in verità è piuttosto morbido sulla pelle) per il collaretto e per i polsini. Ovviamente l’idea mi è venuta a mezzanotte e non avendo in casa un tessuto simile mi sono guardata attorno, ho visto della tela da pittura non trattata e ho deciso di usarla. Mi sembra che funzioni, aggiunge al tutto una nota di rusticità. L’idea originale prevedeva provare a logorarlo, a invecchiarlo usando carta abrasiva e quant’altro ma dopo tutto il lavoro che ci è voluto per attaccare il collaretto l’ho riconsiderata.
Merceria: Filo Coats Epic 140, filo Coats Seta Reale per la pettorina, 11 bottoni piccoli (8.5 mm) in madre perla e mezzo automatico che ho tinto con smalto verde.

 Mod: Ho modificato le pieghe della pettorina - ho voluto dargli più “movimento” e ho usato il filo di setta per cucire le pieghe. Ho fatto le due parti dell’abbottonatura davanti di larghezza uguale - avevo paura che se la parte interna fosse stata più sottile, come prevedeva l’originale, non avrebbe retto il peso dei bottoni. Ho aggiunto un carré dietro per farla sembrare più camicia. Ho rimpiazzato il collo alla coreana con il collaretto che vedete, che non so come si chiama e nemmeno se ha un nome. Ho aggiunto fessini alle maniche - non so neanche questi come si chiamano … mezzi fessini (!?) … visto che la parte sotto è arrotolata.
Adattamento: Ho fatto una modifica per spalla avanti e abbassato (no abbastanza) la ripresa sul busto.
Questo è più o meno il tutto.
Il fatto è che il cartamodello Carme mi piace così tanto che sento il bisogno di giocarci ancora. Mentre sto scrivendo mi sta gironzolando per la testa l’idea di metterci dentro del chiffon di seta ;).
Grazie della visita. Mi piacerebbe moltissimo sentire la vostra opinione.



.jpg)
