Bruyère
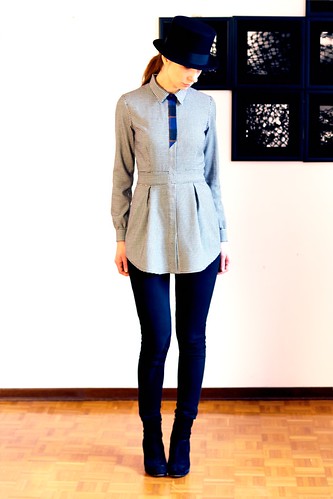
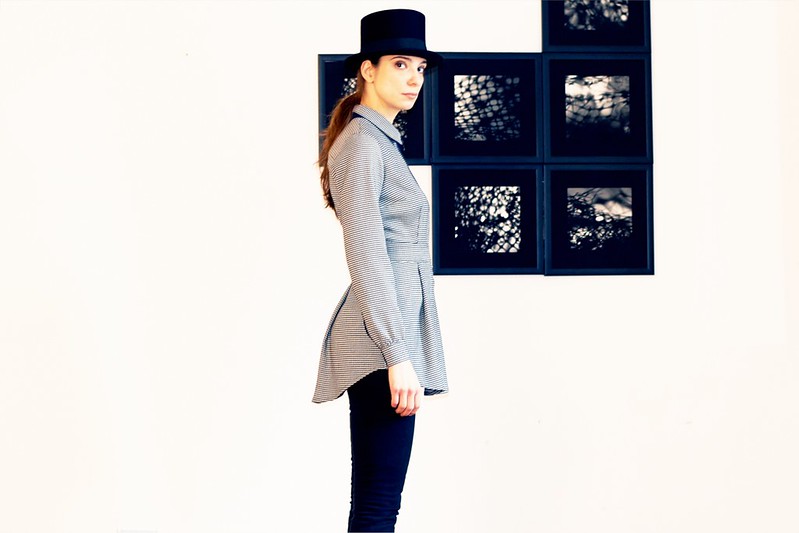
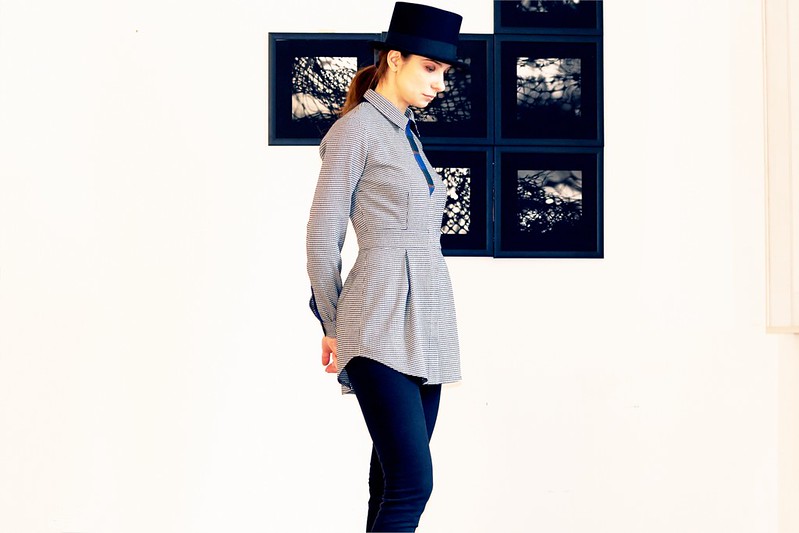
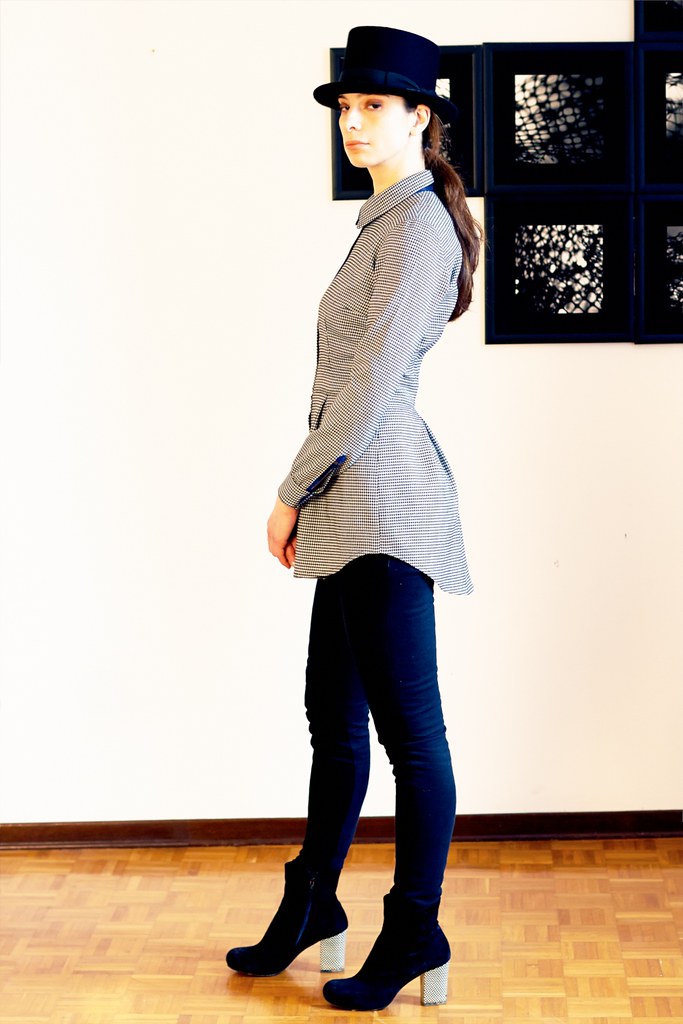
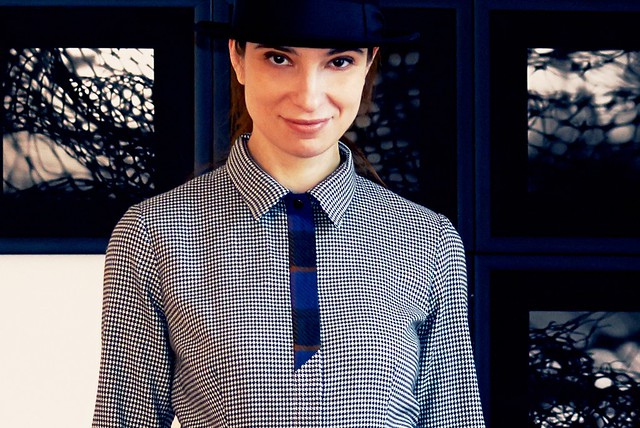
I’m wearing a top hat to distract you from the badly matching lines and the moiré!
This is the Deer&Doe Bruyère Shirt in a mishmash of sizes and bearing so many alterations that the original pattern got buried so deep it would take a shovel to dig it out. Why? Because the way my body is built is soooooo far away from the Deer&Doe “standard”. This pattern is not a generic one and when I say generic I mean based on some generic block like the ones straight out of the pattern cutting books. This pattern has been fitted to a specific body type and I think this proves its “originality” - and lately has been some talk about the originality of independent patterns.
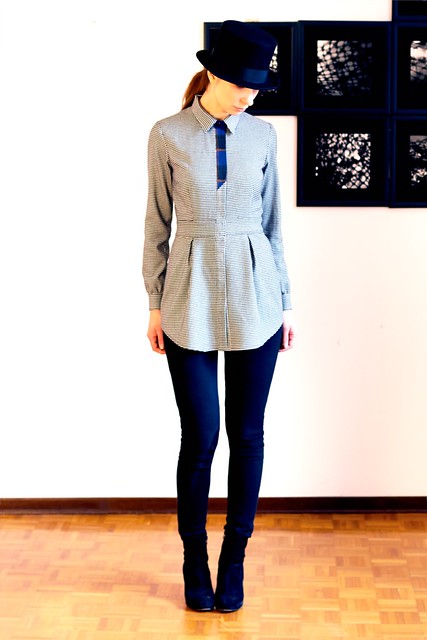
 Still… I love the design of the Bruyère so much that I went ahead and ploughed my way through a bust adjustment from the original D cup to my almost B cup (through both bust darts). I lengthened a lot the bodice - when Eléonore, the designer, says 168cm height it IS 168cm height. As a base size I cut the a 36. Although I cut the neckline at a 34 I had to reduce it further by 1cm - and it’s still not enough. I like to be able to close my shirts to the last button if I feel like.
I added ca. 1cm to the shoulder length also and about 1.5 cm to the sleeve cap. Because I have no intention of wearing this shirt to do manual labour or run track I reduced the ease at the back a lot and I mean a lot. The same with the bicep girth and I also raised the armhole. Yeah I know I had to do quite a bit but this is how much I love the design.
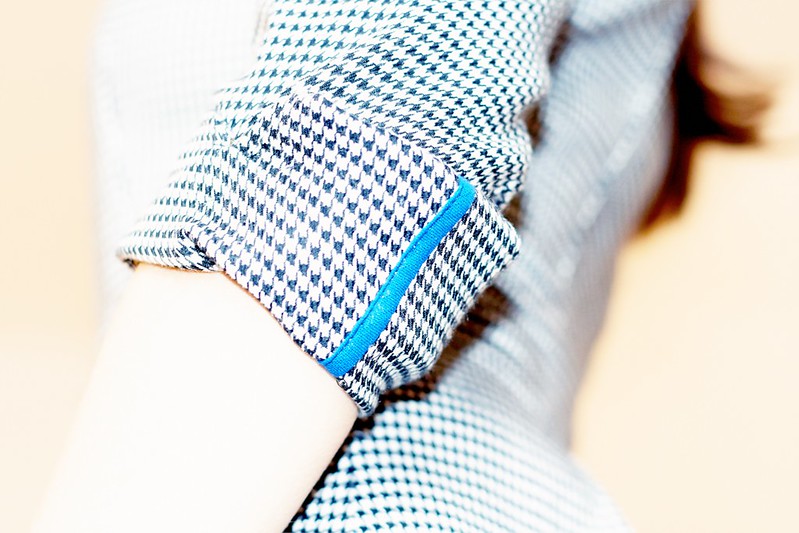
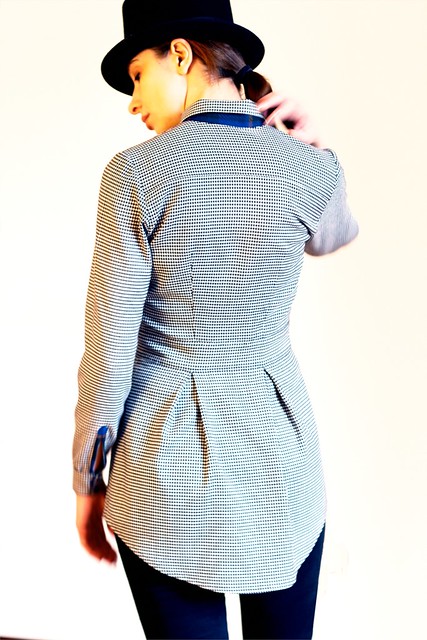
The fabric is a small houndstooth in a slightly stretchy wool blend. Not much but enough to complicate things especially when time came to assemble the belt and the button placket.
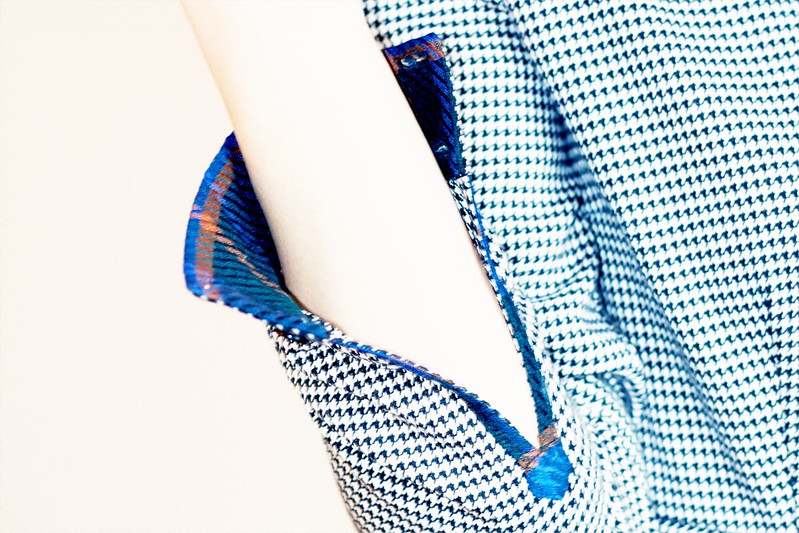
The first placket I made I did not pay very much attention to the fabric pattern and I ended up with two adjacent black lines - very disturbing visually and some vertical shifting. I knew then I had to do it by hand. So I got comfortable turned the tv on, took a deep breath and started doing one of the things I like less: hand sewing. The second placket was alright but I did not like the buttons. Decided that I wanted a less intrusive closure - if possible invisible. For the third I used sew on snaps. It resulted too bulky with the thickness of the snaps and there was also some gapping. It just wouldn’t lie flat! For the final one I crossed my fingers and used sew in snaps. This instagram pic demonstrates the construction. If you want to know more just ask :) !
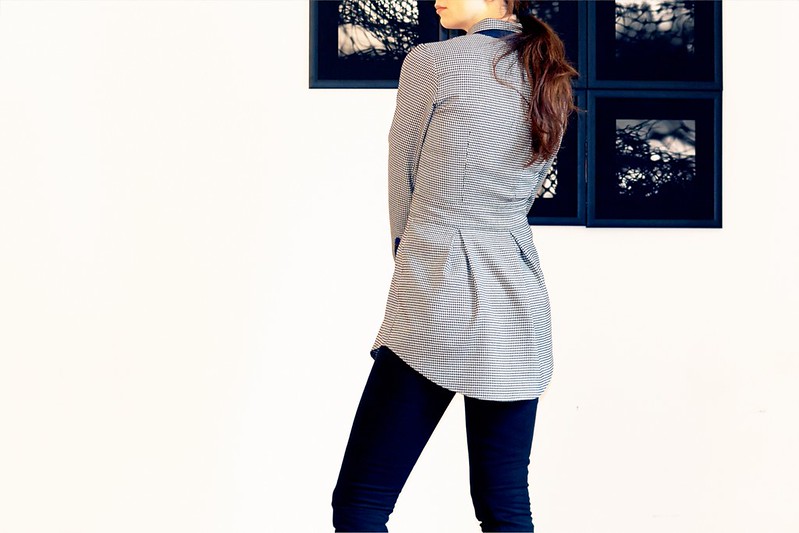
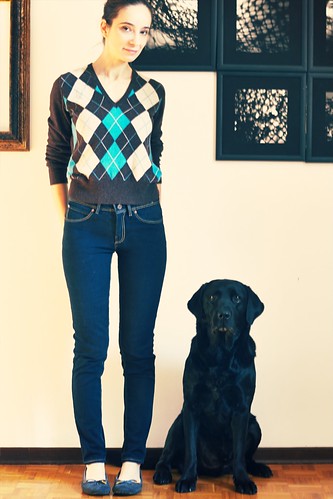
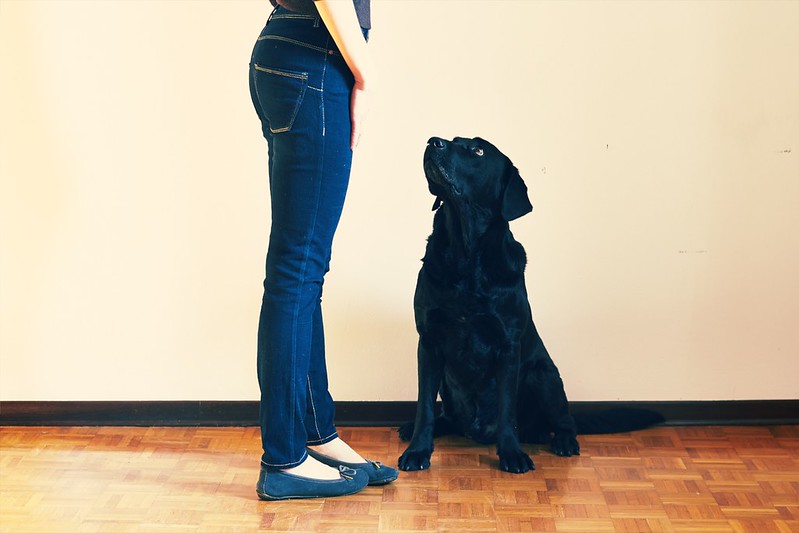
I am pleased with the result although as you can see the back is still to long.
I’m sorry we had really bad weather lately and I couldn't photograph it outside and the inside pictures are not at all good - they don’t do it justice.
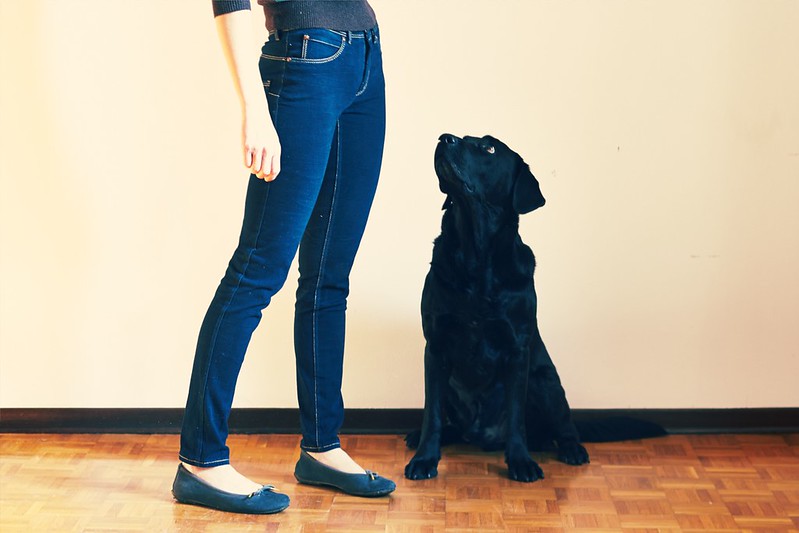
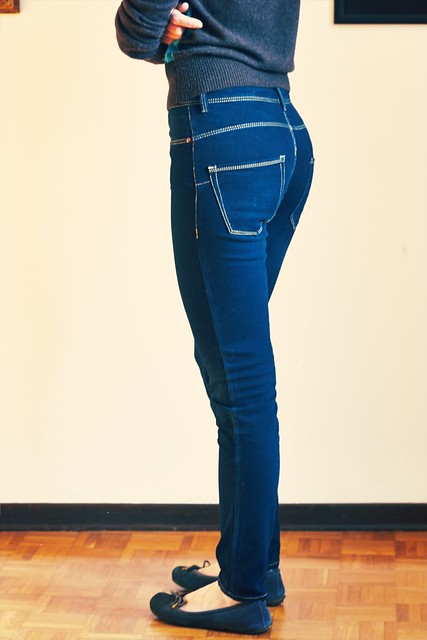
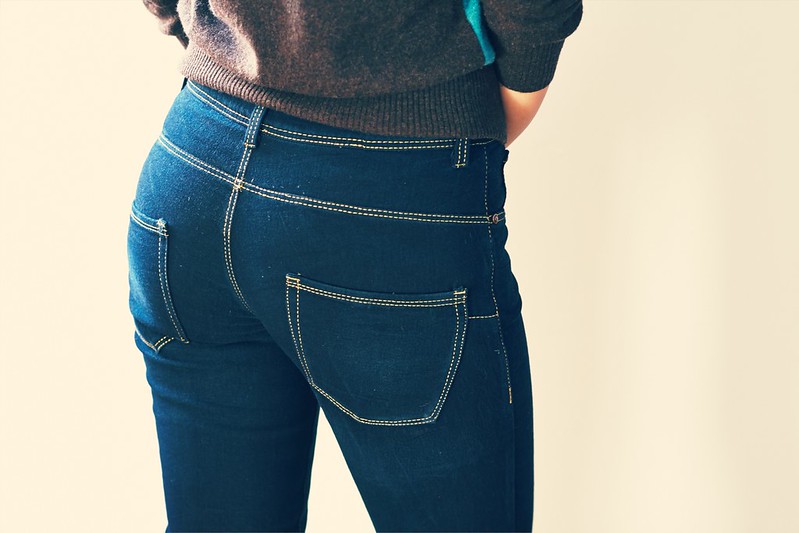
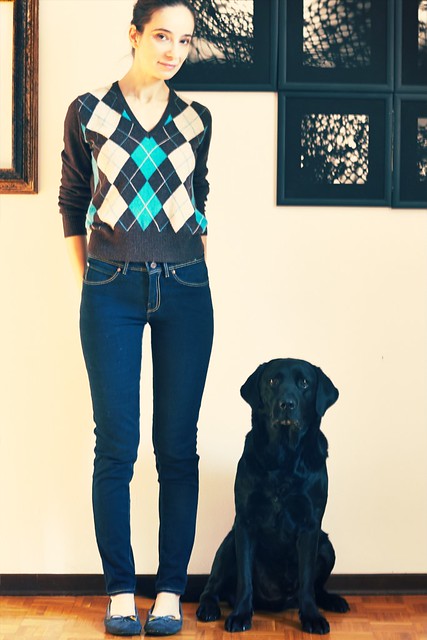
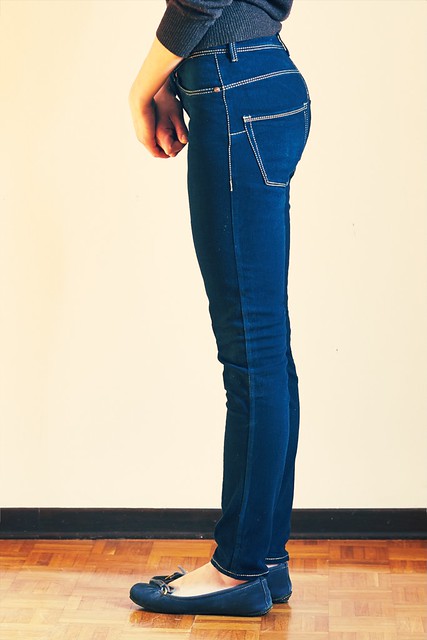
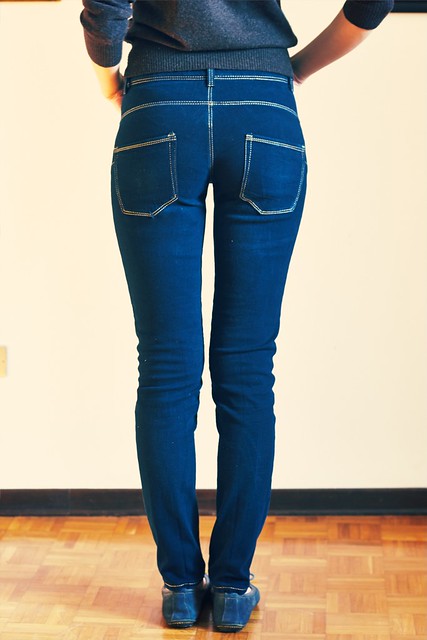
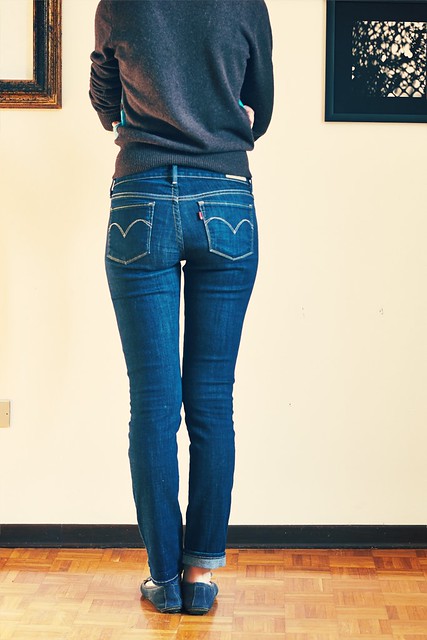
btw I am wearing my latest (i. e. second ;) pair of Ginger Jeans!
And because here in Italy American Horror Story: Freak Show is about to premiere I leave you with my creepiest grin ad also with the proof the neckline opening is still too big.
Thank you for visiting. I would love to hear your opinion.


Sasha
Bruyère
Sto indossando un cilindro nel vano tentativo di distogliere la vostra attenzione dalle linee che combaciano male e dalla moiré nelle foto!
Questa è la Camicia Bruyère di Deer&Doe in un mix di taglie e con sopra talmente tante alterazioni che per scovare il cartamodello originale servirebbe una pala. Perché? Perché la mia corporatura è moooolto diversa dallo "standard" Deer&Doe. Questo cartamodello non è uno generico e quando dico generico intendo basato su qualche blocco base generico come quelli nei libri di modellistica. Questo cartamodello è stato adattato per una corporatura ben precisa e penso questo ne provi la "originalità" - ultimamente ci sono state un po' di discussioni sull'originalità dei cartamodelli indipendenti.

 Nonostante le differenze in conformazione tra me è la modella di Deer&Doe il design di questo cartamodello mi piaceva (e mi piace) così tanto che ho deciso di affrontare tutte le modifiche da fare. Anzitutto ridurre il busto da una coppa D a una quasi B. Ho dovuto inoltre allungare di parecchio il corpetto - quando Eléonore, la designer, dice 168cm di altezza, sono 168 cm di altezza. Come misura base ho tagliato una 36. Anche se lo scollo l'ho tagliato in misura 34 l'ho comunque dovuto ridurre ancora di c. 1cm ed ancora non basta. Mi piace poter indossare le mie camicie abbottonate fino all'ultimo bottone se mi va.
Ho aggiunto 1cm alla lunghezza spalla e 1,5cm al colmo manica. Perché non ho alcuna intenzione di indossare questa camicia per fare lavori di manovalanza o per andare a correre ho ridotto la vestibilità nella schiena di c. 3cm. Lo stesso per la manica all'altezza bicipite. Ho anche alzato l'incavo. Si lo so ho dovuto fare parecchie modifiche - così tanto mi piace questo design.
Il tessuto è un pied-de-poule piccolo in un misto lana un po' elasticizzato. Non molto, quanto basta per complicare le cose quando si è trattato di confezionare la cintura ed il cannoncino.
Quando ho cucito il primo cannoncino non sono stata particolarmente attenta alla distribuzione delle linee perciò sono finita con due linee nere adiacenti - visivamente molto fastidioso, e qualche slittamento verticale del pattern. Ho capito che lo dovevo farlo a mano. Mi sono mesa comoda, ho acceso la Tv, fatto un bel respiro ed iniziato con la cosa che meno mi piace in assoluto: cucire a mano. Il secondo cannoncino e venuto ok ma non mi piacevano i bottoni. Ho deciso che preferivo una chiusura con un minore impatto, possibilmente invisibile. Per il terzo perciò ho usato dei bottoni a pressione del tipo "sew on" che però creavano troppo spessore. Dunque arriviamo al quarto cannoncino per il quale ho utilizzato sempre dei bottoni a pressione sta volta del tipo "sew in" . Questa immagine instagram ne dimostra la costruzione. Se avete delle altre domande chiedete :) !
Sono contenta del risultato anche se come si puo vedere la schiena e ancora troppo lunga.
Mi dispiace se a causa del maltempo, che i giorni passati si è abbattuto sulla mia zona, non sono riuscita a fotografarla fuori è le immagini in interno non sono chissà che.
a proposito sto indossando il mio secondo paio di Ginger Jeans!
Visto che in Italia American Horror Story: Freak Show andrà in prima questi giorni, vi lascio con il mio più raccapricciante sogghigno e la prova che lo scollo è ancora troppo grande.
Grazie della visita. Mi piacerebbe moltissimo sentire la vostra opinione.


Sasha
