Linden #1
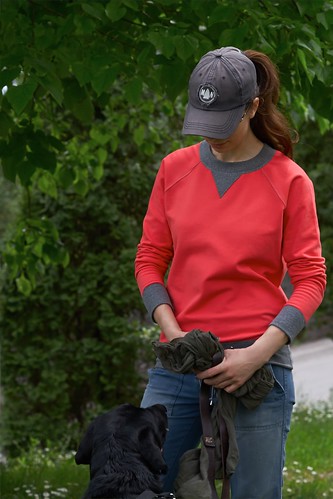
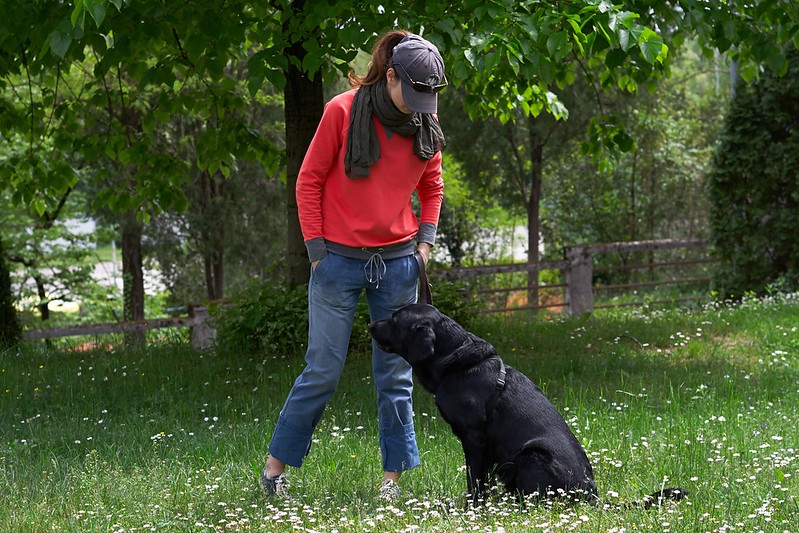
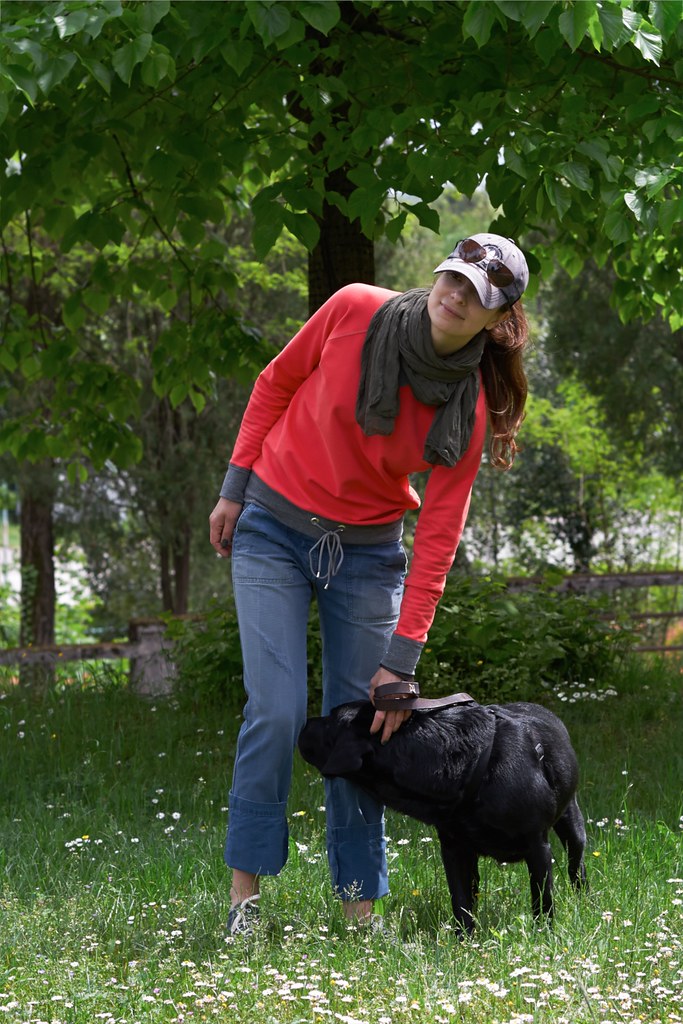
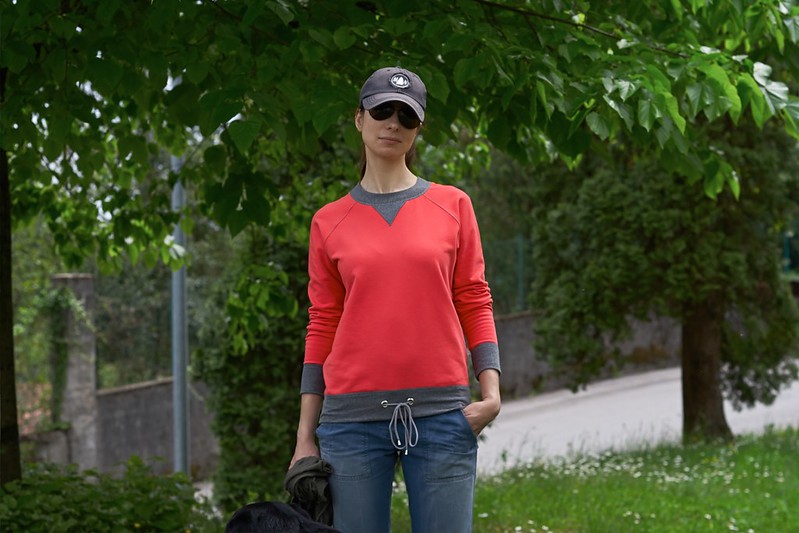
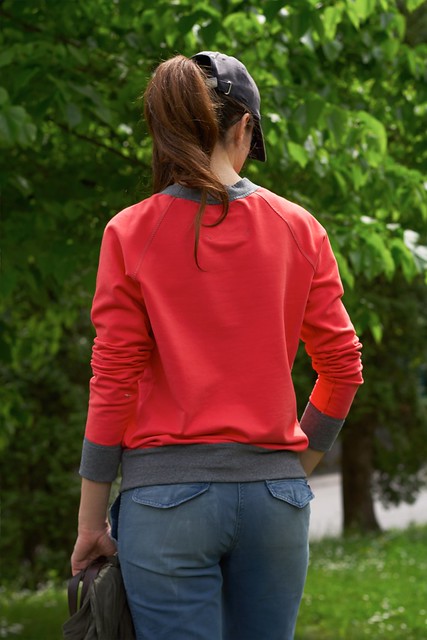
In a very uncharacteristic bout of selfless sewing, I made this sweatshirt as a birthday present for my friend Chiara. She is the epitome of “outdoorsiness” so I figured a Linden would be perfect for her. I wanted a strong color (she needs to be “visible” when guiding people down some mountain trail) but all I could find in the shops that I visited was black, grey and white (sigh). It’s a very soft very stretchy (bi-stretch actually) 96% CO, 4% EA fleece therefore I bought white thinking I could dye it. The color I used is called Tulip Red - from Coloreria Italiana. I know, it’s not the most eco-friendly thing in the world to use but it was my only option - sigh again.
I cut a size 4 with no fitting modifications whatsoever. I intended it to be a surprise gift and I could not ask my friend to come in for fitting. Actually this is one of the reasons I chose the Linden. I know the work of Jen from Grainline Studio to be very close to the high-end industrial standards and I expected the fit to be good as is.
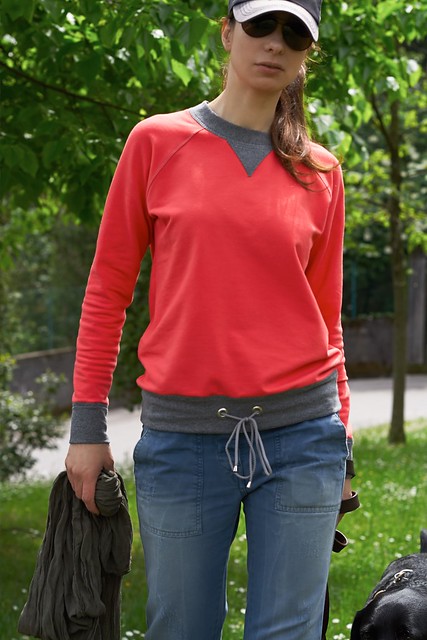
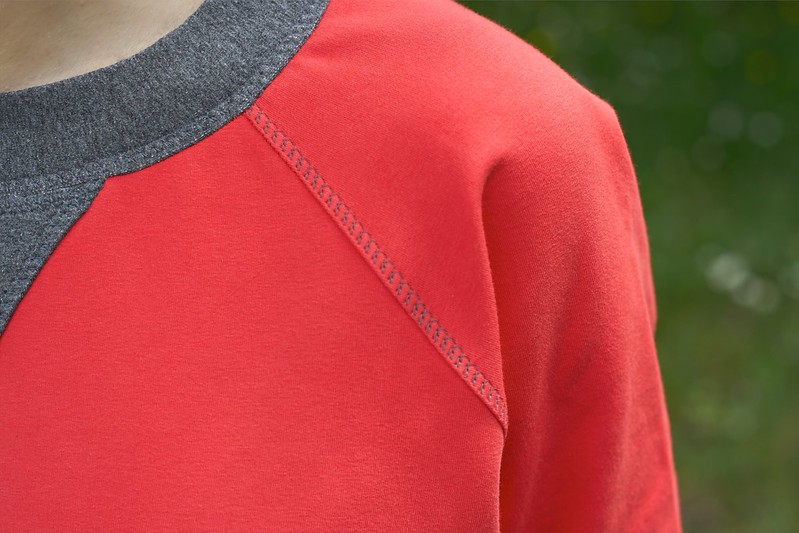
 The main concern I had making this sweatshirt was avoiding those ripply, stretched seams that I abhor and were a real possibility given the stretchiness of the fabric and the on bias seam of the raglan sleeve. I closed the seams with my overlocker and then topstitched with my sewing machine and a decorative stretch stitch (number 14 on my Bernina). During the execution of this stitch the feed dogs go back and forth and can stretch the fabric so I used the walking foot and had to fiddle quite a bit with the presser foot pressure (thank god for that option).
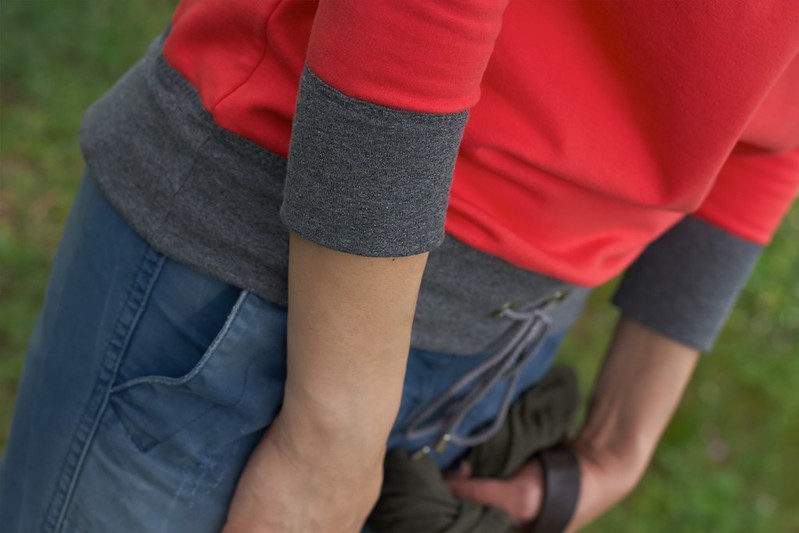
Adding contrast trims was a stylistic decision that posed it’s own set of problems: of course I had no suitable ribbing (the one I did have was rather thick and stiff and using it would have resulted in really bulky seams). I used instead some equally stretchy grey sweatshirt fleece on crosswise direction.
I tried a different approach to constructing this sweatshirt. I first closed the raglan seams and topstitched them. I attached the unfolded bands (I did widened them by 1in. total at the neck and 2in. total at hem and cuffs - if memory serves correctly) - fold line pressed. I then joined the side seams and topstitched at the base of the collar band, hem and cuffs catching the open edge under the serged seam allowances. This method reduced bulk by one layer but required lots of pins and curse words.
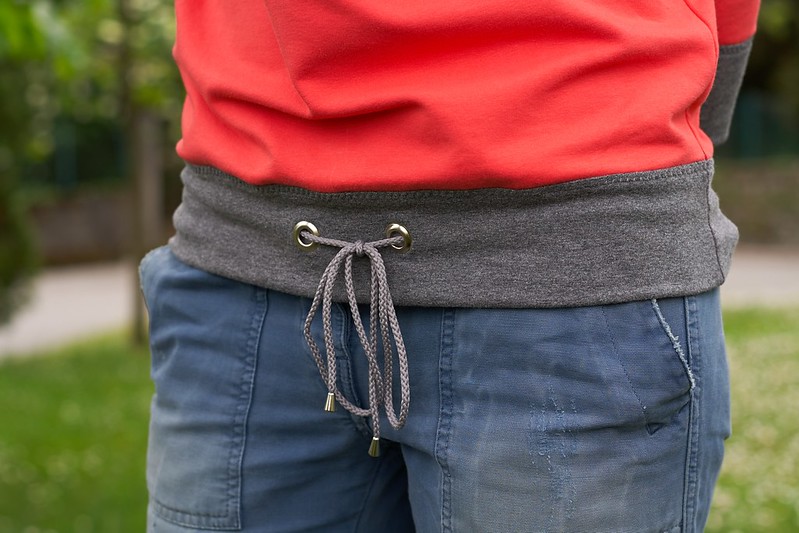
I knew that not using ribbing at the neck meant possible deformation with wear resulting in one of those highly unaesthetic collar bands that flare and gape and would not lie flat so I reinforced the top of the band with clear elastic. It is sewn on the inside along the fold line. The triangle it is not only a decoration but also reinforces the front of the neckline that as we know, tends to stretch out of shape. What IS a mostly decorative element … is the drawstring a bit a là dsquared.
This post is called Linden #1 because I anticipate a Linden #2, #3 …. #n in my wardrobe.
I love sweatshirts. This Linden came together beautifully in about 5 hours and I am a really relaxed sewer. I like to take my time and enjoy the process (of course I maybe would have enjoyed it a bit more if it was for myself ;), although I got to wear it to take the pictures - I am such a selfish one).
What about you? Do you take your time or maybe get into that maker’s frenzy dying to see your project finished?
Thank you for visiting. I would love to hear your opinion.


Linden #1
Lo so, suona strano detto da me … ma ho cucito qualcosa per qualcun’altra!!! - la mia amica, Chiara. Essendo Chiara l’icona della vita all’aperto ho pensato che una felpa Linden sarebbe stata perfetta per lei. Ho voluto un colore acceso, che fosse ben visibile quando accompagna gruppi sui sentieri di montagna. Sfortunatamente nei negozi tutto quello che ho trovato era nero, grigio o bianco. Ho scelto una felpa molto elastica (anzi bi-elastica), 96% CO, 4%EA bianca, pensando di tingerla. Per la tintura ho usato il Rosso Tulipano della Coloreria Italiana - lo so no è una scelta veramente eco-friendly ma unica mia opzione. Conoscete per caso modi migliori per tingere tessuto in casa?
Ho tagliato una misura 4 e non ho fato alcuna modifica/alterazione. Per un regalo sorpresa non poi veramente chiamare a prove. Ed è questa un’altra ragione per la quale ho scelto il Linden. So che il lavoro di Jen di Grainline Studio è molto vicino agli standard sartoriali industriali di alto livello perciò mi aspettavo una buona vestibilità senza modifiche.

 La mia preoccupazione principale durante il confezionamento è stata di evitare le cuciture tirate che producono quelle onde che detesto - una vera possibilità considerando l’elasticità del tessuto e della cucitura sullo sbieco delle maniche raglan. Ho assemblato con la tagliacuci e poi ho fatto le impunture con la machina da cucire e un punto elastico decorativo (numero 14 della mia Bernina). Durante l’esecuzione di questo punto le griffe di trasporto vanno avanti e indietro e possono tirare il tessuto dunque ho usato un piedino doppio trasporto e regolato la pressione del piedino (svariati tentativi) - grazie a Dio la mia machina da la possibilità.
Aggiungere le finiture a contrasto è stata una decisione di styling che ha posto un set di problemi tutto suo. Ovviamente non avevo il bordo a costine adatto ma uno troppo spesso e troppo rigido che avrebbe reso le cuciture troppo pesanti. Ho usato invece, della felpa grigia ugualmente elastica in direzione trasversale.
Ho voluto provare un metodo di confezionamento un po' diverso. Prima ho chiuso il raglan e ho fatto le impunture. Ho aggiunto i bordini non piegati - (li ho allargati di 2.5cm totali al collo e 5cm totali a polsi e fondo - se mi ricordo bene) - dopo aver precedentemente creato la linea di piegatura con il ferro da stiro. Ho eseguito le cuciture laterali e poi le impunture dei bordi prendendo dentro, sotto i margini fatti con la tagliacuci anche i margini liberi delle finiture. Ho ridotto così l’ingombro di un strato ma ho sprecato tante parolacce e spilli.
Sapevo che non usando le costine attorno al collo, c’era la possibilità che portando la felpa lo scollo perdesse elasticità e si sformasse in quel modo odioso e non stesse più piatto. Per ovviare ho cucito dentro il collo, elastico in silicone trasparente. Il triangolo non e soltanto un elemento decorativo ma serve anche da rinforzo per lo scollo. Il cordoncino a là dsquared invece è puramente decorativo.
Questo post si chiama Linden #1 perché prevedo la nascita di un Linden #2, #3 … #n.
Adoro le felpe e questa si e praticamente confezionata da sola, senza nessun intoppo in circa 5 ore - ed io sono molto rilassata quando cucio. Mi piace andare piano e godermi il processo (forse avrei goduto un po di più se la felpa fosse rimasta nel mio armadio ;) anche se l’ho indossata poi per le foto - ahhhh penso solo a me stessa).
E voi? Quando cucite vi piace prendervela con calma oppure vi sale quella sorta di delirio che ti spinge a voler vedere il progetto compiuto il prima possibile?
Grazie della visita. Mi piacerebbe moltissimo sentire la vostra opinione.


